Installing WordPress and MySQL in Docker
A short guide to setting up a WordPress development environment with MySQL and phpMyAdmin using Docker Compose.
This short guide is aimed at developers who want to quickly set up a WordPress development environment using Docker. It assumes you have Docker installed on your machine. If you don’t, you can download it from the official website.
The steps we will need to follow are just three:
- Creating required Docker Compose files
- Running the Docker Compose command
- Setting up WordPress
Creating required Docker Compose files#
This Gist is a template for the docker-compose.yml file. It contains the WordPress and MySQL services, and also phpMyAdmin for database management. You can copy and paste it into a new file named docker-compose.yml.
version: "4.0"
services:  # MySQL Database  database:    image: mysql:latest    volumes:      - database_data:/var/lib/mysql    restart: always    environment:      MYSQL_ROOT_PASSWORD: password      MYSQL_DATABASE: wordpress      MYSQL_USER: wordpress      MYSQL_PASSWORD: wordpress    networks:      - wordpress_network
  # phpMyAdmin  phpmyadmin:    depends_on:      - database    image: phpmyadmin:latest    restart: always    ports:      - "8081:80"    environment:      PMA_HOST: database      MYSQL_ROOT_PASSWORD: password    networks:      - wordpress_network
  # WordPress  wordpress:    depends_on:      - database    image: wordpress:latest    ports:      - "8000:80"    restart: always    volumes:      - ./wordpress:/var/www/html    environment:      WORDPRESS_DB_HOST: database:3306      WORDPRESS_DB_USER: wordpress      WORDPRESS_DB_PASSWORD: wordpress    networks:      - wordpress_network
networks:  wordpress_network:
volumes:  database_data:
Running the Docker Compose command#
With a terminal open in the same directory as the docker-compose.yml file, run the following command:
docker-compose up -dThis command will download the required images and start the containers. The -d flag is used to run the containers in the background.
Setting up WordPress#
Now that the containers are running, you can access WordPress by visiting http://localhost:8000 in your browser. You will be prompted to set up the site. The database connection details are passed through environment variables, so you don’t need to worry about them.
P.S.: A huge thank goes to Brad Traversy who setted up the composer script that I updated in this guide.
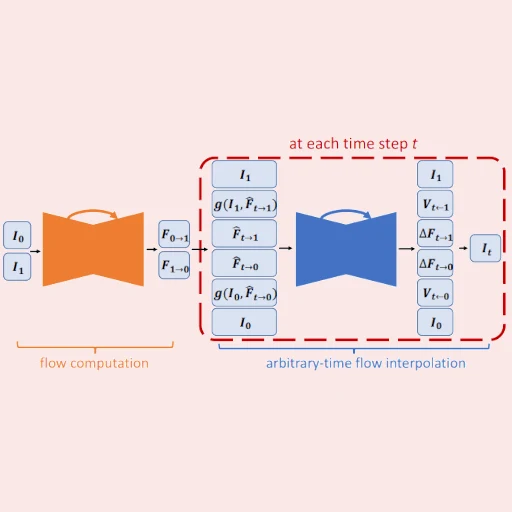
Revisiting Super SloMo: modernizing video frame interpolation with Apple Metal
I modernized an older Super SloMo implementation with a simplified Bash script, updated dependencies, Apple Metal (MPS) GPU acceleration on macOS, and continuous code quality analysis via CodeScene.

Rewriting Bookaround with Spring Boot and Flutter
I'm planning a complete rewrite of my non-profit school book exchange project Bookaround, moving to a Spring Boot backend and Flutter frontend for better scalability and maintainability.
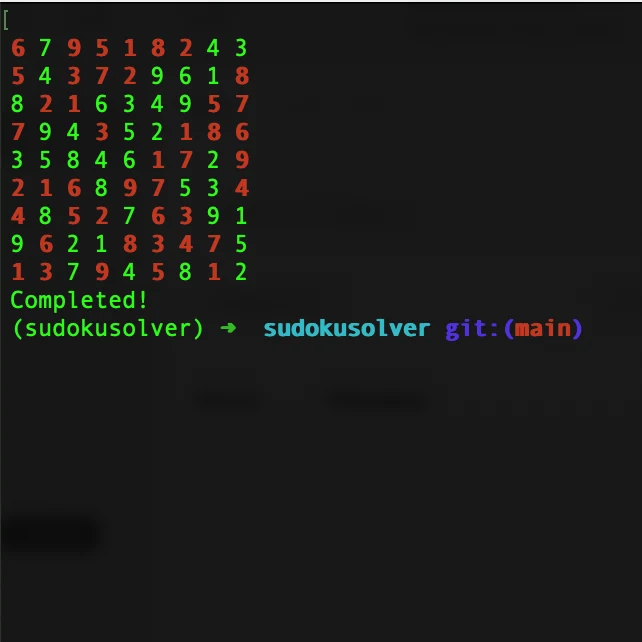
Sudoku solver with DFS in Python
A Python-based Sudoku solver that uses depth-first search and backtracking to fill in a 9x9 board while respecting Sudoku rules.